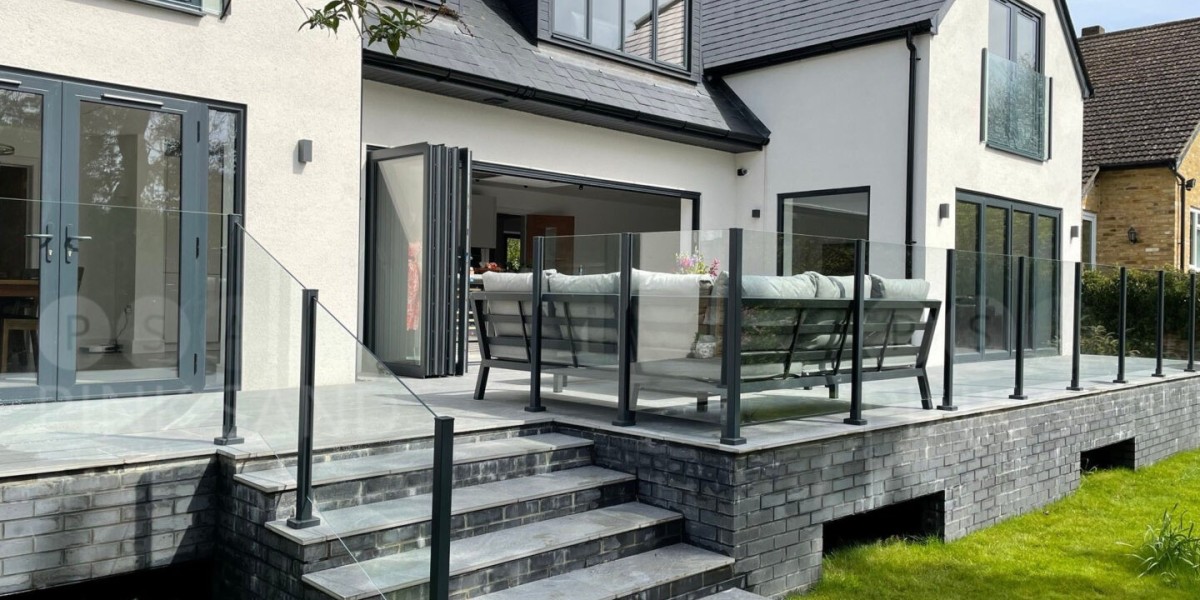
Bifold doors are a popular choice for homeowners looking to enhance their living spaces with natural light and a seamless transition between indoor and outdoor areas. These doors consist of multiple panels that fold back against themselves, allowing for wide openings that can transform a room. Installing bifold doors can be a rewarding DIY project, but it requires careful planning and execution. This article will guide you through the steps of bifold door installation, ensuring you achieve a professional-looking finish.
Understanding Bifold Doors
Before diving into the installation process, it's essential to understand what bifold doors are and the different types available. Bifold doors can be made from various materials, including wood, aluminum, and vinyl. They can be configured in different ways, such as two-panel or multi-panel systems, depending on the width of the opening. When selecting bifold doors, consider factors such as style, material, energy efficiency, and budget.
Tools and Materials Needed
To install bifold doors, you will need the following tools and materials:
Tools:
- Tape measure
- Level
- Screwdriver (Phillips and flathead)
- Drill
- Stud finder
- Hammer
- Utility knife
- Saw (if trimming is necessary)
- Safety goggles
- Ladder (if needed)
- Bifold door kit (includes panels, tracks, and hardware)
- Shims
- Wood screws
- Wood filler (if necessary)
- Paint or stain (if finishing the doors)
Step-by-Step Installation Process
Step 1: Measure the Opening
Accurate measurements are crucial for a successful bifold door installation. Use a tape measure to determine the width and height of the door opening. Measure at three points: the top, middle, and bottom for width, and left, center, and right for height. This ensures that you account for any irregularities in the wall. The standard height for bifold doors is usually around 80 inches, but you may need to adjust based on your specific opening.
Step 2: Purchase the Right Bifold Door
Once you have your measurements, purchase a bifold door kit that fits your specifications. Kits typically come with all necessary components, including panels, tracks, and hardware. Ensure that the style and material align with your home’s aesthetic.
Step 3: Prepare the Opening
Before installation, prepare the opening by removing any existing doors or frames. Use a stud finder to locate the wall studs, as you will need to attach the track to these for stability. Ensure that the opening is clean, level, and free of any obstructions.
Step 4: Install the Track
Begin by installing the top track. Use a level to ensure it is straight, and mark the locations of the wall studs. Pre-drill holes to avoid splitting the wood, then attach the track using wood screws. Make sure the track is securely fastened and Clean-Pro can support the weight of the bifold doors.
Next, install the bottom track. This track should be aligned with the top track and positioned flush with the floor. Again, use a level to ensure accuracy. If your floor is uneven, you may need to adjust the track with shims.
Step 5: Hang the Door Panels
With the tracks installed, it's time to hang the door panels. Start with one panel and insert the top pivot into the top track. The bottom pivot should be placed into the bottom track. Repeat this process for each panel, ensuring they are aligned correctly.
Once all panels are in place, check for smooth operation. Open and close the doors to ensure they glide smoothly along the tracks. If there are any issues, you may need to adjust the pivots or tracks.
Step 6: Secure the Panels
After ensuring that the panels operate smoothly, secure them in place. Most bifold door kits will include a bottom guide that helps keep the doors aligned. Install this guide according to the manufacturer's instructions. This will prevent the doors from swinging or coming off the track.
Step 7: Finishing Touches
Once the doors are installed, it's time for the finishing touches. If the doors require painting or staining, do this before adding any hardware. Apply a wood filler to any visible holes or imperfections, then sand the area smooth once dry. Finally, apply your chosen finish for a polished look.
Step 8: Install Hardware
Install the handle and any additional hardware included in your bifold door kit. Ensure that the handle is positioned at a comfortable height and is easy to operate. Test the doors once more to ensure everything functions correctly.
Maintenance Tips
To keep your bifold doors in optimal condition, consider the following maintenance tips:
- Regular Cleaning: Wipe down the panels and tracks regularly to prevent dirt and debris buildup.
- Lubrication: Apply a silicone-based lubricant to the tracks and hinges to ensure smooth operation.
- Check Alignment: Periodically check the alignment of the doors and make any necessary adjustments to the pivots or tracks.
Conclusion
Installing bifold doors can significantly enhance the functionality and aesthetic appeal of your home. By following this comprehensive guide, you can successfully install bifold doors yourself, saving on labor costs while achieving professional results. Remember to take your time during each step, ensuring accurate measurements and secure installations. With proper maintenance, your bifold doors will provide beauty and utility for years to come.


